Showing posts with label tutorial. Show all posts

Friday, August 13, 2010

Cut Up Those Curtains! (Apron)

Browsing through local thrift stores has been a hobby of mine this summer. I find myself perusing the "home" section more and more. I love looking through the curtain sets; sometimes you can find really great fabric for a great value! I happened upon this fabric and couldn't resist. I decided to cut up these curtains to make an apron for my friend's wedding gift. You can make one too! Here's how to create your own adorable curtain apron:

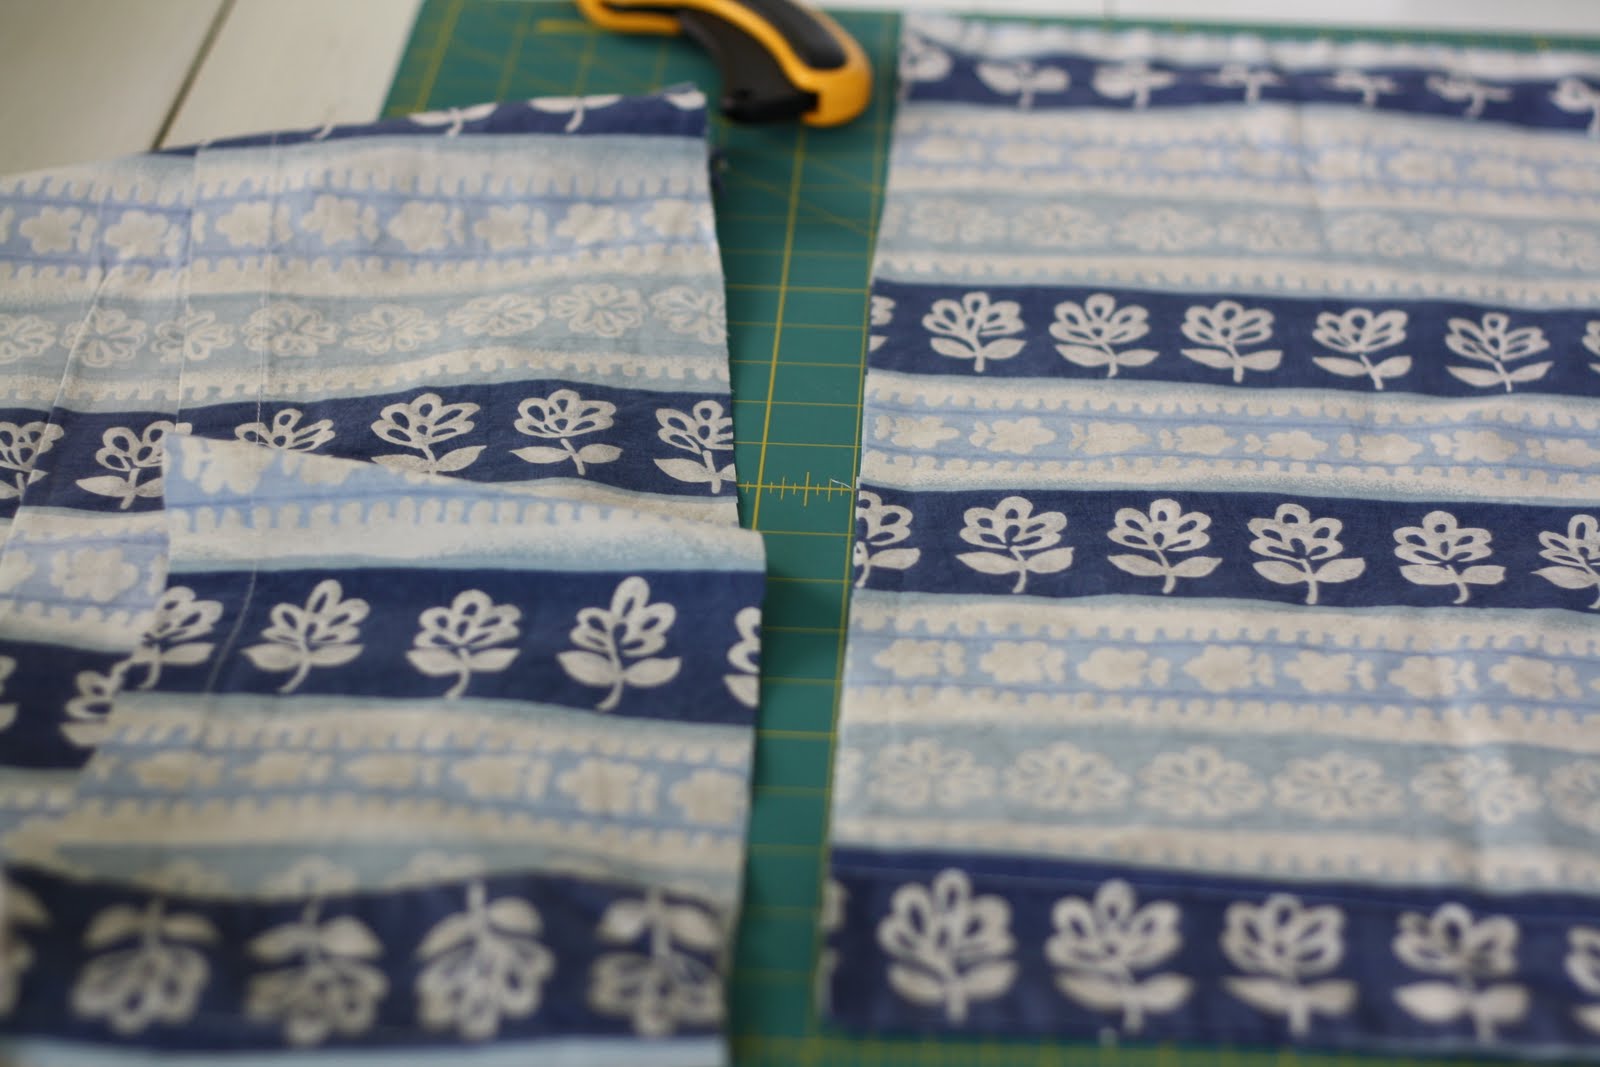
1. Find cute curtains and cut them up: I suggest looking at thrift stores or garage sales. Sometimes the curtains will come in a set with coordinating fabric; if not, purchase one yard of coordinating fabric for the ties. I cut the main panel for this apron to be 29'' x 24''. Make sure to hem three edges (the bottom 29" and the both shorter sides). Some parts may be hemmed already!
2. Make the waistband: Cut the coordinating fabric to make a waistband. The waistband will have to be at least one inch longer than the length of the main panel. The waistband shown here measured 30'' x 6''. Cut the waistband to the desired length. Iron it in half with the long sides together and right sides together. Stitch 1/4'' seam along the long side opposite the fold. Pull the fabric right side out and press flat with an iron.
3. Finish the waistband: You should have two unfinished short edges remaining on the waistband. Tuck the raw edges inside the waistband (1/4'') and press flat.


4. Attach the waistband: Pin the waistband in place with the long finished edges along both sides of the apron. Secure the waistband by topstitching.
5. Make the ties: Cut two ties for this apron using the coordinating fabric. My ties measured 20.5'' x 6''. The width has to be the width of the waistband. After you cut the two pieces iron them in half with long sides together and right sides together. Stitch around two sides leaving one short side open to pull the fabric through. Pull the fabric right side out and press. There should be one raw edge remaining on each tie. Make a small pleat on each short raw edge of the tie.


6. Attach the ties: Insert the pleated raw edge of the tie into the short edge of the waistband. Topstitch to secure in place. Repeat with the other ties.

7. Put a pocket on it: Cut a pocket (or two) of any shape to add detail to your apron. This pocket measures 6" x 6". Fold under any raw edges. Press with an iron. Pin the pocket into place and topstich three sides.

8. Grab a cup of coffee and enjoy your new curtain apron! Or wrap it up in pretty paper to give as a wedding gift :).

Thursday, July 29, 2010

Apron in an Afternoon

Our summer has been filled with the sounds of wedding bells and I have been making aprons as wedding gifts. It is fun to find fabric to match the bride's personality. I also love to pair an apron with baking/cooking items from the couples' registry.
Pretty Pillowcase Apron

I was inspired to make pretty pillowcase aprons after receiving this apron as a gift from my sister. She is so creative; she found this pillowcase at a thriftstore and used coordinating fabric for the pockets and straps. I adore it!


Here's how to make this simple apron in an afternoon:


1. Find a good-looking pillowcase (I found mine at a thrift store) and coordinating fabric for the pocket(s) and ties. Wash and iron.


2. Hold it up to yourself and decide how you want the top to the look. I wanted the top to be thinner and curve out at the waist. Fold the pillowcase in half and cut the curve.


3. Make the waistband, 2 ties, and neckstrap: Cut four pieces of the coordinating fabric to the desired length and width. I cut 4 pieces of the same measurement (21'' x 6''). Start with the waistband; the waistband length has to be at least as long as the fullest part of the pillowcase. Press in half matching the long sides, wrong sides together. Stitch 1/4'' seam down the length of the fabric. Turn right side out and press. Topstich around 3 sides if desired. One short side can remain unfinished for the ties, both short sides can remain unfinished for the neckstrap and waistband. Repeat these steps to make two waist ties and one neckstrap.


4. Attach the waistband: Use pins to secure the waistband to the fullest part of the pillowcase.

5. Fold under the raw edges of the waistband. Press with an iron.


6. Attach the waist ties: Make a small pleat in each tie. Put the unfinished edge (pleat side) between the waistband fold. Topstitch 1/8'' to attach ties to waistband.


7. Attach the neckstrap: try on the apron. Pin the neck strap in place. You'll want to leave enough room for the apron to easily pull on and off. Tuck the unfinished edges of the neckstrap into the top of the apron. Stitch across entire top of apron. Stitch across the entire bottom of the apron also.


8. Make and Attach a pocket: I chose a simple square pocket to match the pattern of this fabric. You can make the pockets any shape or size. Sometimes adding embellishments like lace is a fun addition.


9. Try on that fabulous new apron! You may want to whip up one of these for yourself!