Showing posts with label sewing. Show all posts

Sunday, April 3, 2011

Week Twenty Two

My First Diaper Bag
This was my spring break project during our babymoon (thanks Megan for the pattern!).  I had incredible amounts of fun with this whole project.  From browsing the beautiful fabrics to sewing seams I couldn't keep from smiling.  I kept thinking to myself...there are going to be baby things in this bag for OUR LITTLE BOY!!!  Sewing this bag was a time for me to really slow down and reflect upon the changes our family has been going through these past months and to look forward to what is to come.  It was a time that I could talk to God and also be quiet and listen. 
Babycakes and I are doing just fine this week.  His kicks are becoming more recognizable and frequent (mostly at night).  One of the best things has been waking up in the mornings to Josh's hands on my belly as he prays for our little guy.  My belly seems to be more recognizable now.  The parents and students at school are more confident when they approach me to say "congratulations" :).  I hope to write about our babymoon soon!

Have a lovely Sunday,
                                           Jen 

Tuesday, November 30, 2010

Advent Project (almost) Complete

Hello!  I hope you all had a blessed Thanksgiving.  I had a wonderful weekend of conversations over coffee, lazy mornings by the fireplace, mom's good cooking, scrabble with dad, and sewing with my sister.  I have so much to be thankful for!  I decided to make this advent calendar inspired from Sew Mama Sew.


I say almost complete because we still have to fill the pockets.  Josh, Jemimah and I are all adding something special.  Josh will be putting Scripture or hymns in each pocket and Jemimah and I are adding small surprises (still thinking of these things :).  My hope is that the advent calendar will  help us to slow down and reflect daily on Jesus during this busy season.  Well, I'm off to find a place for the calendar before bed.  Good night friends!

Saturday, November 20, 2010

Inspired by Advent Calendars

I love advent calendars!  Growing up I had the Avon Mouse Calendar (now called the vintage Avon Mouse Calendar :).  Josh had this one too!  I looked forward to moving the little mouse closer to Christmas each day.  Years have passed since then.  I think it is time to have an advent calendar in our home.  I have been inspired by all of the beautiful advent calendars; I have decided to attempt to make my own.  I have less than 10 days to finish!  First, I have to decide what kind to create...


There are so many lovely advent calendars!  I'm leaning towards a sewn look this year.  I haven't had the time to sew lately but Thanksgiving at mom and dad's will allow for some sweet sister sewing time :).  I'll keep you updated on my progress.  I'm off to buy fabric!

Sunday, September 12, 2010

Aprons For Sale!


Looking for a unique gift idea or perhaps a little something to make cooking/baking more fun? Look no further! I have three aprons for sale at my etsy shop :). Click the link to the right to find out more about these adorable aprons. Two of them are vintage and the green one in the middle is handmade.


Friday, August 13, 2010

Cut Up Those Curtains! (Apron)

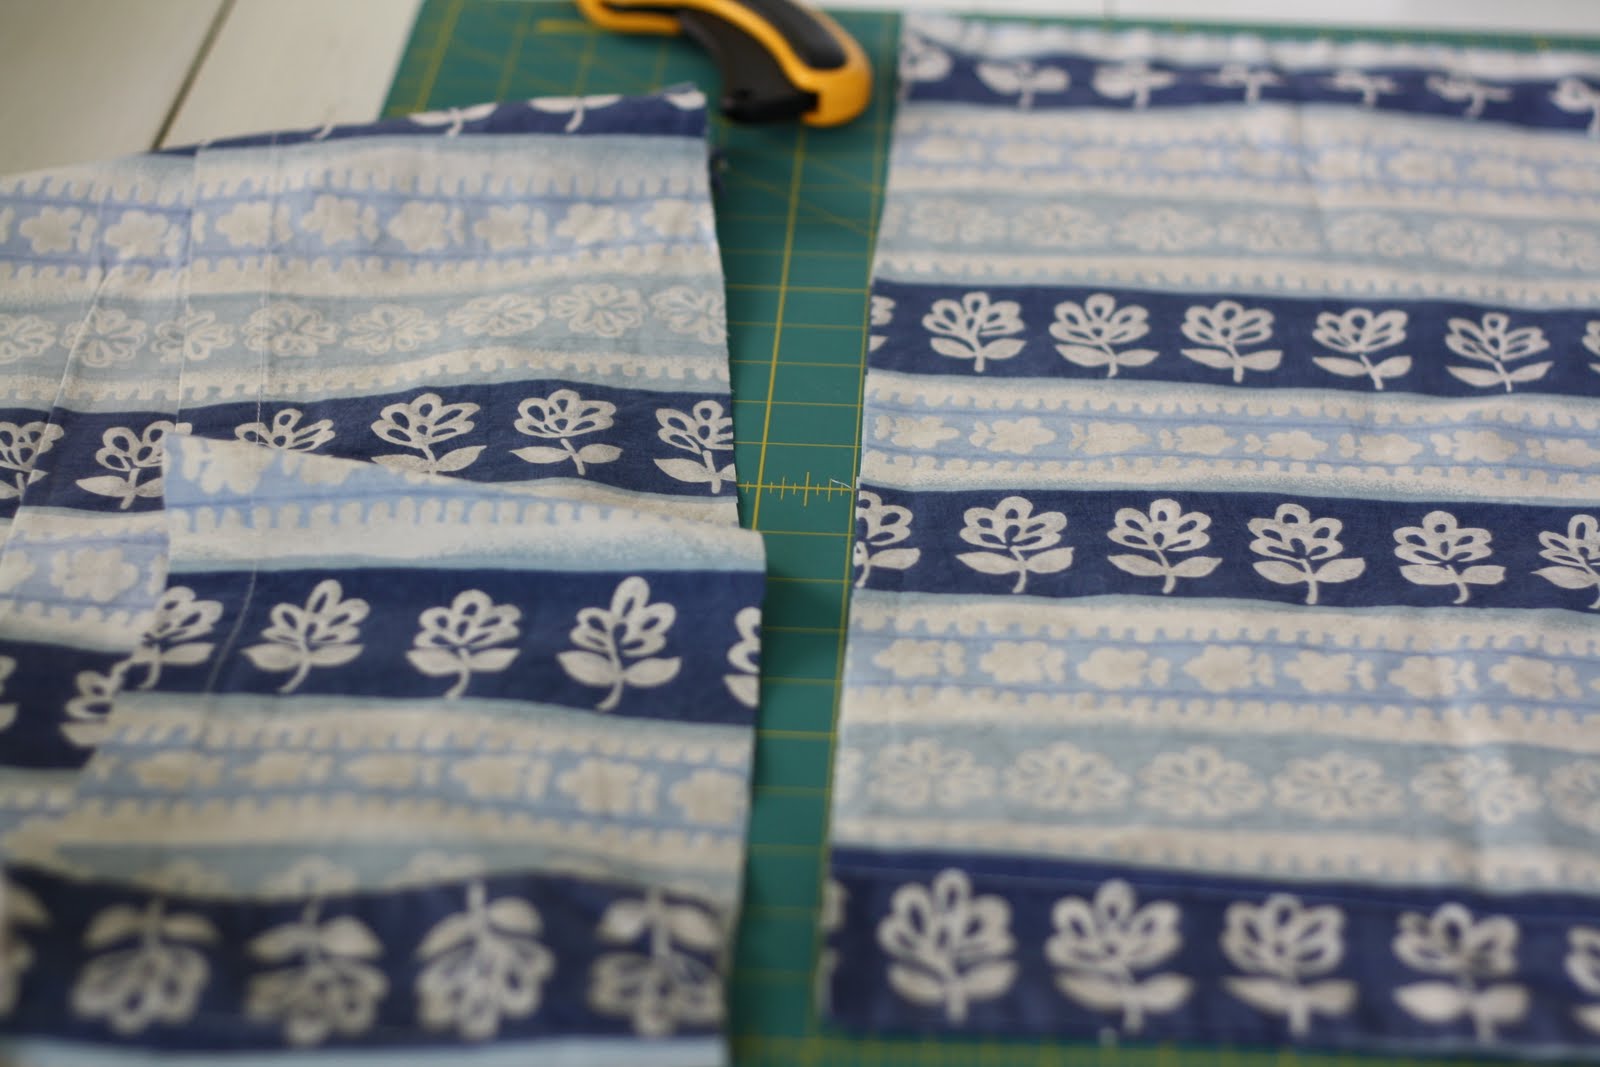
Browsing through local thrift stores has been a hobby of mine this summer. I find myself perusing the "home" section more and more. I love looking through the curtain sets; sometimes you can find really great fabric for a great value! I happened upon this fabric and couldn't resist. I decided to cut up these curtains to make an apron for my friend's wedding gift. You can make one too! Here's how to create your own adorable curtain apron:

1. Find cute curtains and cut them up: I suggest looking at thrift stores or garage sales. Sometimes the curtains will come in a set with coordinating fabric; if not, purchase one yard of coordinating fabric for the ties. I cut the main panel for this apron to be 29'' x 24''. Make sure to hem three edges (the bottom 29" and the both shorter sides). Some parts may be hemmed already!

2. Make the waistband: Cut the coordinating fabric to make a waistband. The waistband will have to be at least one inch longer than the length of the main panel. The waistband shown here measured 30'' x 6''. Cut the waistband to the desired length. Iron it in half with the long sides together and right sides together. Stitch 1/4'' seam along the long side opposite the fold. Pull the fabric right side out and press flat with an iron.
3. Finish the waistband: You should have two unfinished short edges remaining on the waistband. Tuck the raw edges inside the waistband (1/4'') and press flat.


4. Attach the waistband: Pin the waistband in place with the long finished edges along both sides of the apron. Secure the waistband by topstitching.
5. Make the ties: Cut two ties for this apron using the coordinating fabric. My ties measured 20.5'' x 6''. The width has to be the width of the waistband. After you cut the two pieces iron them in half with long sides together and right sides together. Stitch around two sides leaving one short side open to pull the fabric through. Pull the fabric right side out and press. There should be one raw edge remaining on each tie. Make a small pleat on each short raw edge of the tie.


6. Attach the ties: Insert the pleated raw edge of the tie into the short edge of the waistband. Topstitch to secure in place. Repeat with the other ties.

7. Put a pocket on it: Cut a pocket (or two) of any shape to add detail to your apron. This pocket measures 6" x 6". Fold under any raw edges. Press with an iron. Pin the pocket into place and topstich three sides.

8. Grab a cup of coffee and enjoy your new curtain apron! Or wrap it up in pretty paper to give as a wedding gift :).

Thursday, July 29, 2010

Apron in an Afternoon

Our summer has been filled with the sounds of wedding bells and I have been making aprons as wedding gifts. It is fun to find fabric to match the bride's personality. I also love to pair an apron with baking/cooking items from the couples' registry.
Pretty Pillowcase Apron

I was inspired to make pretty pillowcase aprons after receiving this apron as a gift from my sister. She is so creative; she found this pillowcase at a thriftstore and used coordinating fabric for the pockets and straps. I adore it!


Here's how to make this simple apron in an afternoon:


1. Find a good-looking pillowcase (I found mine at a thrift store) and coordinating fabric for the pocket(s) and ties. Wash and iron.


2. Hold it up to yourself and decide how you want the top to the look. I wanted the top to be thinner and curve out at the waist. Fold the pillowcase in half and cut the curve.


3. Make the waistband, 2 ties, and neckstrap: Cut four pieces of the coordinating fabric to the desired length and width. I cut 4 pieces of the same measurement (21'' x 6''). Start with the waistband; the waistband length has to be at least as long as the fullest part of the pillowcase. Press in half matching the long sides, wrong sides together. Stitch 1/4'' seam down the length of the fabric. Turn right side out and press. Topstich around 3 sides if desired. One short side can remain unfinished for the ties, both short sides can remain unfinished for the neckstrap and waistband. Repeat these steps to make two waist ties and one neckstrap.


4. Attach the waistband: Use pins to secure the waistband to the fullest part of the pillowcase.

5. Fold under the raw edges of the waistband. Press with an iron.


6. Attach the waist ties: Make a small pleat in each tie. Put the unfinished edge (pleat side) between the waistband fold. Topstitch 1/8'' to attach ties to waistband.


7. Attach the neckstrap: try on the apron. Pin the neck strap in place. You'll want to leave enough room for the apron to easily pull on and off. Tuck the unfinished edges of the neckstrap into the top of the apron. Stitch across entire top of apron. Stitch across the entire bottom of the apron also.


8. Make and Attach a pocket: I chose a simple square pocket to match the pattern of this fabric. You can make the pockets any shape or size. Sometimes adding embellishments like lace is a fun addition.


9. Try on that fabulous new apron! You may want to whip up one of these for yourself!


Wednesday, July 14, 2010

I love aprons...


Don't you just love aprons? So many patterns, and pockets, and variations. Aprons make cooking more fun! I made this apron for my sister-in-law Britta. I got the idea for the apron from a book called A is for Apron. I didn't have to time to make a copy of the pattern from the book so my wonderful husband helped me sketch the pattern for the Lorelei apron onto tissue paper. It worked really well! It was my first time using bias tape to finish the edges. I actually attempted to make my own continuous bias tape but that was more difficult than expected. Because of the time crunch I made a quick run to JoAnn for pre-made bias. I hope to conquer the continous bias sometime this summer :). I really love the fabric for this apron. Britta is a big fan of blue and I am a sucker for floral prints. I got all of my material from Crafty Planet (link below); it is my favorite fabric store in Minneapolis.

http://www.craftyplanet.com/